How to join split designs :New Tutorial
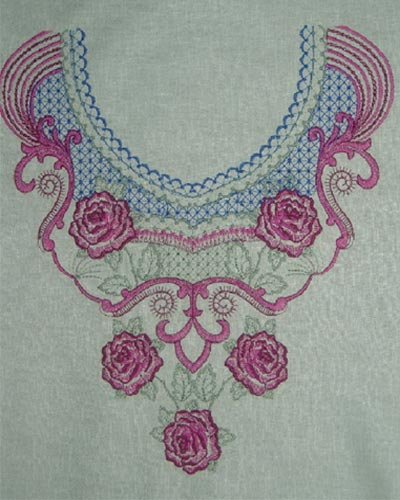
This design is 330 x 360 mm and was embroidered in a 5x7 hoop by combining 4
splitted parts.
This design is 300x310 mm and was embroidered in a 4x4 hoop by combining 8 splitted parts.

This is the discription, giving you unlimited possibities to embroider huge designs.
The clue is MASKING TAPE.
The most important thing, to end up with a perfect embroidery with no gaps, is to place the frame exactly right, following the center points.
These exact center points you receive along with the splitted parts of the
design.
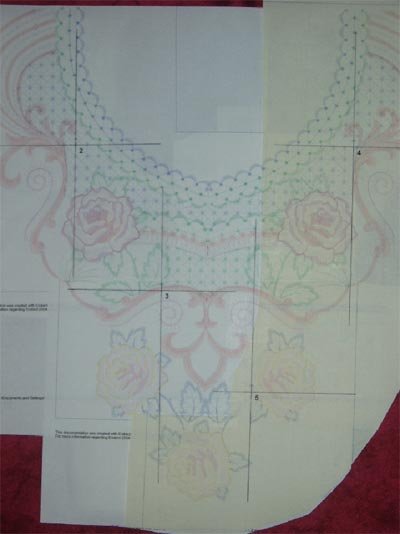
We send you pictures of the splitted parts to be printed.
These prints show the exact center point on each part.
To get a pefect copy of the finished design, the printed parts have to be combined
using tape.
It is very important that you leave no gaps when you tape the prints togther
after having cut them to fit pefectly togther.
You must be close to the stitches to be able to put them in the perfectly right
place.
-Now you can transfer the centermarks of all splitted parts on to the fabric.
I use carbon paper to mark tiny points at the end of each center line.
Don't draw the whole line , because now is the time to use the masking tape,
and lines like that dirctly on the fabric would look terrible.
-Fasten the template on top of the fabric.
-Mark the points at each end of the center lines.
-Fasten masking tape between the points.
Like this:
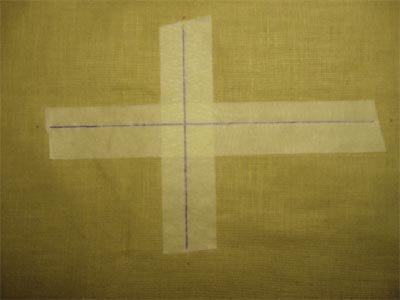
You can see the tiny points on the fabric at the end of each line.
Mark the center points on each part exactly the same way.
On the 5x7 design shown in this tutorial you will have 4 masking tape crosses.
On the 4x4 design you wil have 8 crosses.
Concerning the placement in the frame you do it the same way no matter what size of frame.
Now it's time to place the first part into the embroidery hoop.
There is one important thing, not to be done wrong...
The center pint is very important, but you must also be sure the center lines
fit exactly to the marked center points at the edges of your hoop.
If you don't, you will get ugly gaps in your designs.
A template shown in this picture is of great help.
You will have no problem finding the main center point in the middle if the
design, and on all 4 sides of the hoop.

When you have fastened the fabric in your hoop, in accordance with the center point, you must remove the masking tape before starting the embroidering.
Sometimes the center points are so close to each other, you may have masking
tape inside your hoop belonging to the next part of the embroidery.
If it is possible , don't remove this tape completely.
Just lift the parts neccessary, for not disturbing the part being embroidered.
If you by accident do remove it, you will still have the tiny points to use
for placing a new masking tape in the right possession.