FREE STANDING LACE COLLAR [part 1]
HOW TO GET A GOOD RESULT WHEN USING THE SPLITTED
PARTS TO EMBROIDER
A FREE STANDING LACE COLLAR.

For the detailed instructions on how you can stitch split large designs , please see How to join split designs and How to perfectly combine splitted parts of a design
So this tutorial is not a new repetition to the above tutorial. It is specifically made to show you how you can stitch our split large lace collars. We applied our notes on the most difficult lace collar design we have.This design is split for 5x7 hoop. So the other designs will be easy if you follow our notes.
- The cutting and combining printed
parts is in fact the most important thing when embroidering on water soluble
material.
If you don't do this job perfect, you might get some extra work when the soluble
material is removed, because the parts might in some places fall apart.
If you do like this, that problem will not occur.
- You might see that your prints are not similar
to the prints in this tutorial.
That's because they will look different for each hoop size.The designs have
to be splitted different.
- When looking at the prints you might wonder where are the last stitches of the first part and the first stitches of the next part.
This is how you start combining the prints. This first part you don't cut at all.
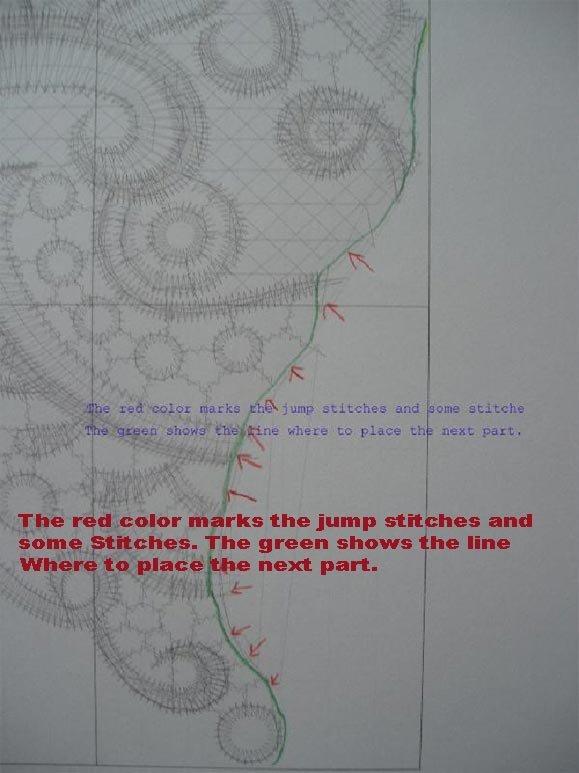
- When you embroider a large design combined by
splitted parts, there will always be some extra jump stitches on the edge of
the design, where the next part will be connected to the first part. Especially
when you embroider it as free standing lace it is important ,before you start
to embroider the next part, to cut all the threads you are sure does not belong
in the design.
- After having removed the water soluble material,
there is no problem fastening the embroidered parts together if they should
end up as different embroidered parts.
But..... you can do it an easy way, like this:
Place the 2.and all the next parts a tiny bit... like 1
stitch into the previous embroidered part...
This is not difficult at all, if you follow our combining tutorial.