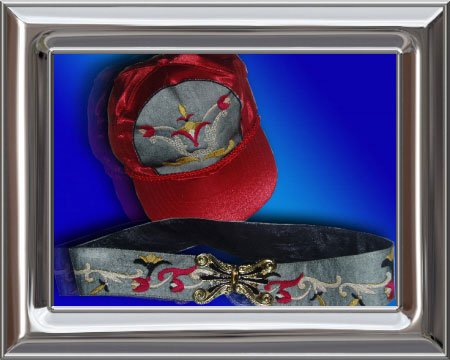
Cap And Belt Tutorial
.
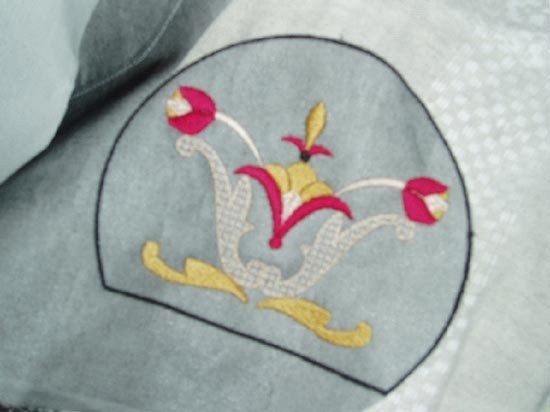
Decorating a cap using our designs is easily done
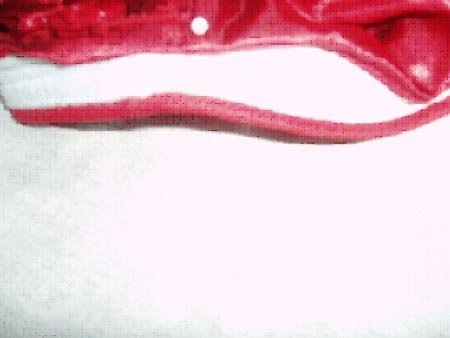
Embroider the design, and cut the fabric as close to the satin stitches as possible, but be careful not to cut the stitches.
Fasten the embroidery with pins at the front of a cap.
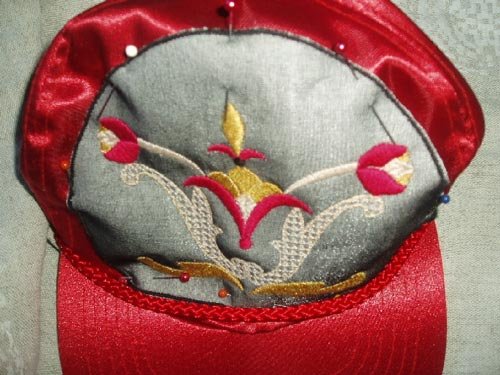
Turn the rim inside the cap to the outside and fasten it with pins before sewing
the embroidery on to the cap. If you don't , the front will not look good when
finished.
Fasten the embroidery using ordinary machine stitches in the same color as the satin stitches..
Your cap is finished.
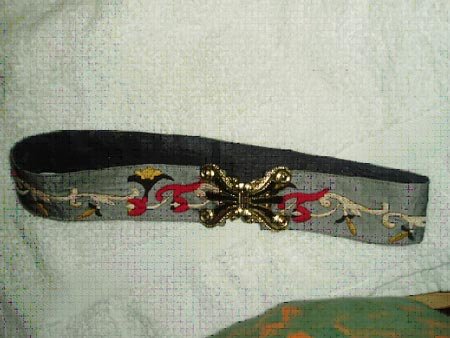
BELT TUTORIAL
This belt is done with no space outside the embroidery, but it would look very nice if it was wider and the embroidery was more like a decoration in the middle of it.
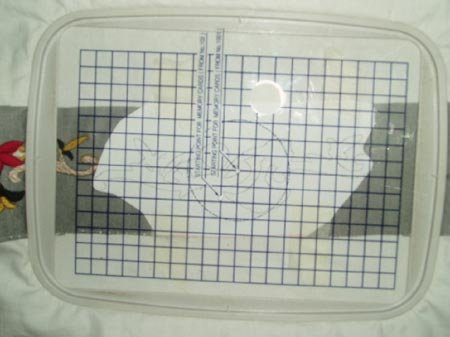
Print the belt pattern from your Embroidery program to be used
for the placement of the embroidery. .
Before getting started prepare the fabric the most easy way to get the perfect
result:
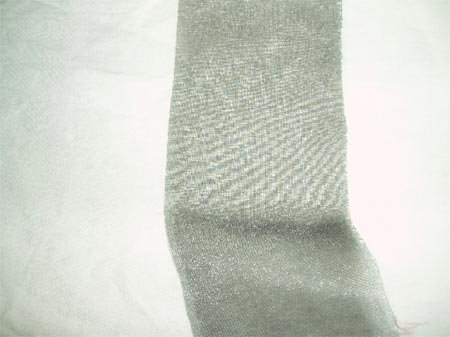
Cut a strip of vliesofix as wide as you want the
finished belt included the seams,and the wanted length .
Iron the vliesofix on to your belt fabric close to the edge, to waste as little
of your fabric as possible.
Remove the back paper from the vliesofix and iron the fabric strip on to another
fabric.
The strip must be placed in the middle of fabric nr. 2, because of the placement
of the embroidery.
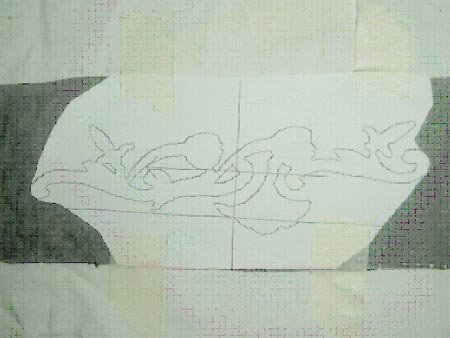
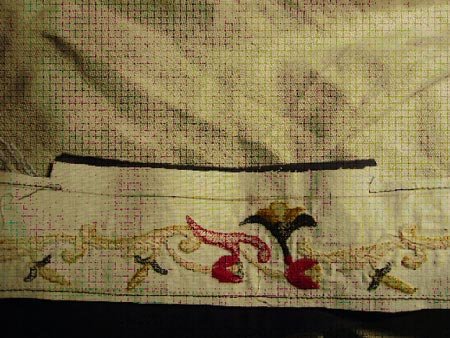
Cut the print exactly the width of your fabric
strip, to avoid missing the exact placement somewhere.
Place the cut print in the first position you want the embroidery to start.
Fasten it with a bit of masking tape so it doesn't slip when placing the hoop.
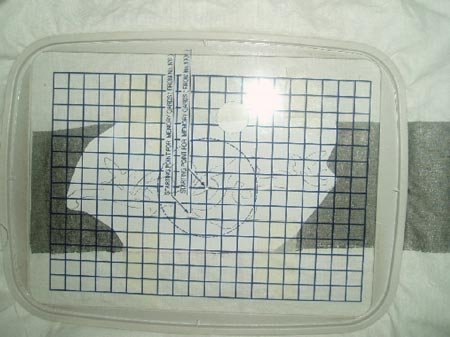
Place your embroidery hoop so the center points fits exactly the center cross on the printed design.
Having embroidered the first design, remove the hoop, place the print in the place you want the next one, and fasten the hoop exactly right like on the first design.
When you have embroidered all the designs you want for decorating
your belt, cut out the belt fabric.
If your fabric is not heavy enough to keep its shape without it, iron on some
thin vlies or another stabilizer.
Cut a lining fabric the same with as the belt fabric and pin them together.
Then sew, but remember to keep an open space about 15 cm on one side, to be
able to turn the belt inside out.
Cut the seams about 3 mm from the stitches, but not at the opening because tat
will make it more easy to close the opening afterwards.
Turn the belt inside out, and fasten the edges with pins.
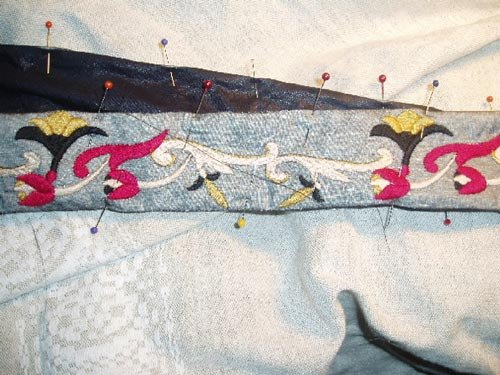
Stitch as close to the edge as possible.
Fasten the buckle or whatever you want to use for locking it.
Buttons can also be used, and would in fact look very nice.
Your belt is finished.